Summary:
In this article, we explore a comprehensive solution for managing different environment variables in a React.js application while leveraging Jenkins for continuous integration and deployment. We provide a step-by-step guide on how to establish separate environment profiles within the same React.js codebase and demonstrate how to automate builds and deployments to each environment via Jenkins. This approach fosters better collaboration between React.js developers and DevOps engineers, increasing overall efficiency and code quality. Whether you’re handling configurations for development, staging, or production environments, this guide offers a practical way to handle environment-specific variables seamlessly and securely.
here’s the breakdown of tasks for the DevOps and React.js developers:
React.js Developer Tasks:
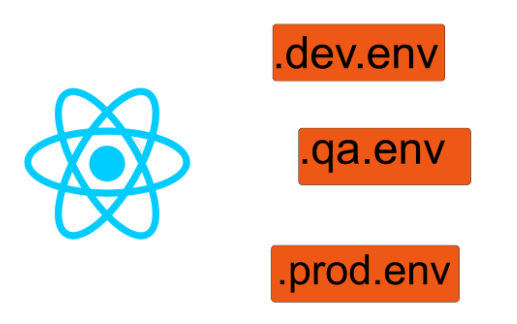
- Create Environment Files: In the root directory of your project, create environment files for each of your environments. These should be named
.env.development,.env.staging, and.env.production. - Define Environment Variables: Inside each of these files, define the necessary environment variables. Each variable should be prefixed with
REACT_APP_for security reasons and to ensure they’re correctly embedded into the build. For example,REACT_APP_API_URL. - Use Environment Variables in Code: In your application code, access these environment variables using
process.env. For example,process.env.REACT_APP_API_URL. - Update package.json: In your
package.jsonfile, add the following scripts:"scripts": {"start": "react-scripts start","build:dev": "env-cmd -f .env.development react-scripts build","build:staging": "env-cmd -f .env.staging react-scripts build","build:prod": "env-cmd -f .env.production react-scripts build","test": "react-scripts test","eject": "react-scripts eject"},
This will allow building your application with environment-specific variables.
DevOps Tasks:
- Setup Jenkins Jobs: For each environment (development, staging, production), set up a separate Jenkins job. Each job will be responsible for building and deploying to the respective environment.
- Parameterize Jenkins Build Commands: In each Jenkins job, use the appropriate build command that corresponds with each environment. This will be in the format of
npm run build:<environment>.A Jenkins pipeline might look like this:
pipeline {
    agent any
    stages {
        stage('Build for development') {
            steps {
                sh 'npm run build:dev'
            }
        }
        stage('Build for staging') {
            steps {
                sh 'npm run build:staging'
            }
        }
        stage('Build for production') {
            steps {
                sh 'npm run build:prod'
            }
        }
    }
}
Each shell command runs the npm build script for the specific environment.
- Setup Jenkins permissions: Ensure the build commands are only approved by the relevant personnel. This can be controlled by Jenkins’ own permission and roles system.
Note: Make sure that the Jenkins server has access to Node.js and NPM, and you might need to install env-cmd globally or include it in your devDependencies.
Conclusion
By using this approach, you can manage multiple environment profiles in your React.js application. When you run the build command for a specific environment (for example, npm run build:staging), it will automatically apply the variables of the corresponding profile.
Reference: https://www.opcito.com/blogs/managing-multiple-environment-configurations-in-react-app

